
By Kathy Rose
Asian influence on freestyle pet grooming has been increasing in US popularity over the past five years, culminating in a catapult to fame recently. The unique head and leg styles are gaining acceptance in the freestyle grooming competition classes, raising the originality bar a bit higher. Because some of these trims require a keen eye and impressive skill to pull off, the technical prowess of the stylist is challenged as well.

With that said, many of these trims are easy to execute if you know what to look for on your model. The importance of understanding structure becomes apparent with freestyle grooming in order to create the best possible trim for your model.
A pet with an extremely roached back or conversely, a swayed back may not be the best candidate for a shaved body. On the other hand, a pet with very crooked legs would lend himself nicely to full bellbottom shaped furnishings. As in all styling, consider the pet’s structure when choosing the trim.
This trim is ideal for any drop coat breed. As in all grooming, meticulous prep work is essential. Begin with a thorough bath with a shampoo suitable for the particular pet and follow with conditioning. In this case we want the legs, ears and tail to be soft and straight. Fluff dry following the coat growth direction. Trim nails, pads and underwear prior to styling.
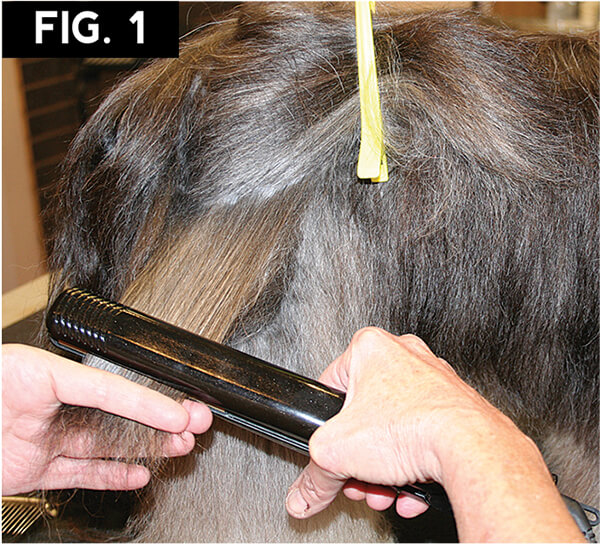
Fig. 1 Straighten the leg coat with a flat iron set on medium low heat.
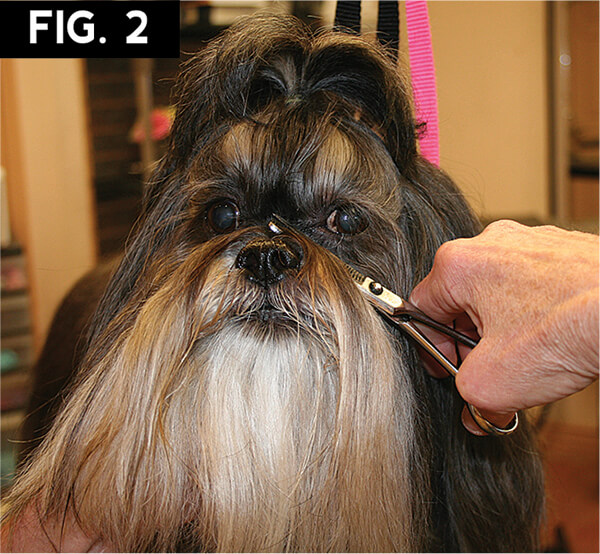
Fig. 2 Secure the topknot out of the way. Trim the eye corners with thinning shears. Use a #10 to shave the front of the lips.
Begin trimming the body coat about two inches behind the occipital bone and continue toward the rear following the coat growth direction. Trim over the point of rump, falling off before reaching the upper thigh. Continue to trim the entire contour of the body and undercarriage, following the coat growth direction.
Fig. 3 Lift the beard out of the way and trim the sides of the neck and under-jaw, falling off before reaching the shoulder coat. Clip down the fore-chest and between the front legs, following the coat growth direction.
Fig. 4 Note the inverted “V” of coat left at the shoulders and at the hips.
Use a #7 or #10 to shave the cheeks and throat. Shave the ear ventilation strip, (coat in front of the ear). Use thinning shears to blend the cheeks behind the eyes.
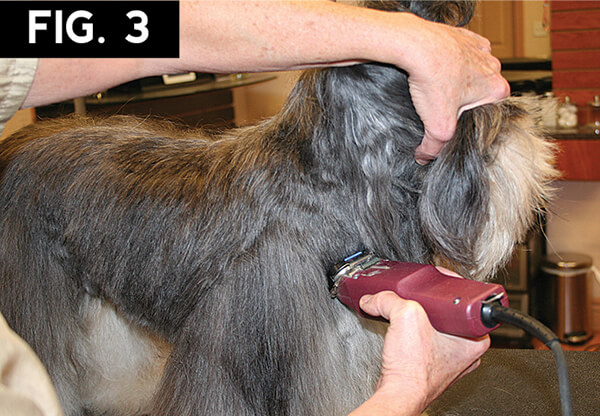
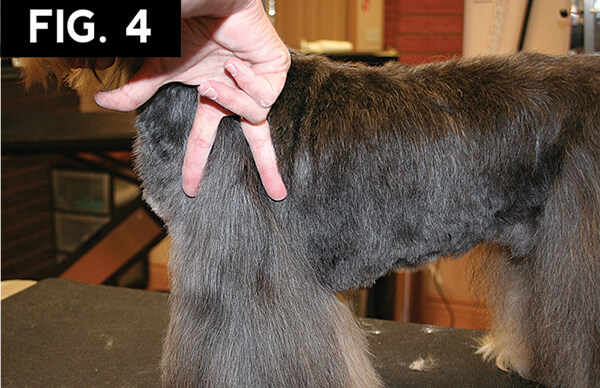
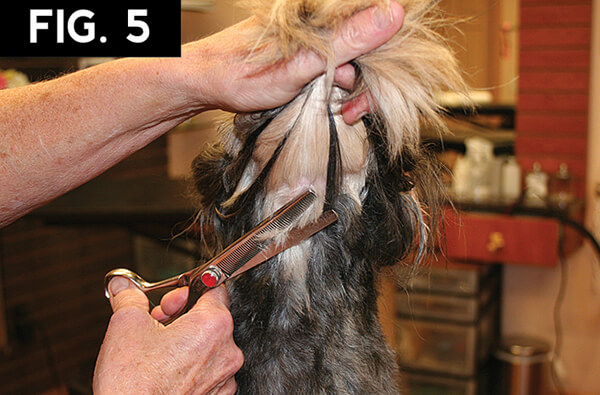
Fig. 5 Lift the beard and blend the cowlicks on the sides of the neck and the under-jaw with thinning shears.
Use thinning shears to blend the cowlicks on the point of chest and brisket.

Fig. 6 Blend the undercarriage with thinning shears, creating an arch at the tuck up. Blend the area at the shoulders, hips, point of rump and the sides of the tail base with thinning shears.
Apply a small amount of a conditioning product, such as Colestral Chalk Helper™, to the bottom of the legs. This will help chalk or cornstarch to adhere to the coat.
Brush a small amount of chalk or cornstarch into the bottom of the leg coat. These products will help to “body up” the silky coat at the leg bottoms, which in turn, will aid you in creating bellbottom shaped legs.
Fig. 7 Lift the front leg and trim only the excess coat around the pad of the foot. Do not trim into the leg coat.
Fig. 8 Place the dog’s foot on the table and lift much of the long coat up and out of the way. Use curved shears held at a 45° angle to scissor around the bottom of the foot. Drop a bit of the long coat that you are holding, comb and repeat. Continue this method to “stack” the coat, forming bevels.
Comb all of the coat down and then use curved shears, held at a 45° angle, to finish rounding the front foot.

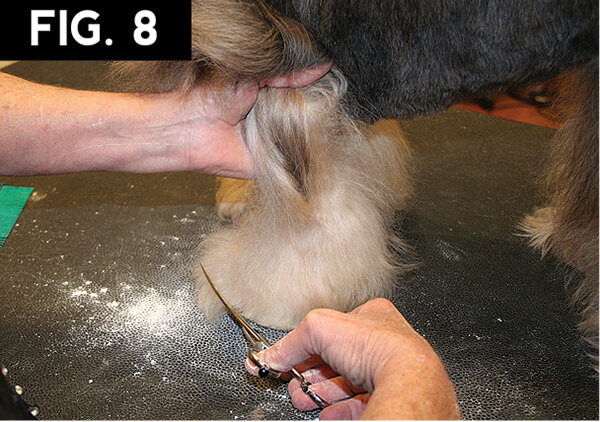
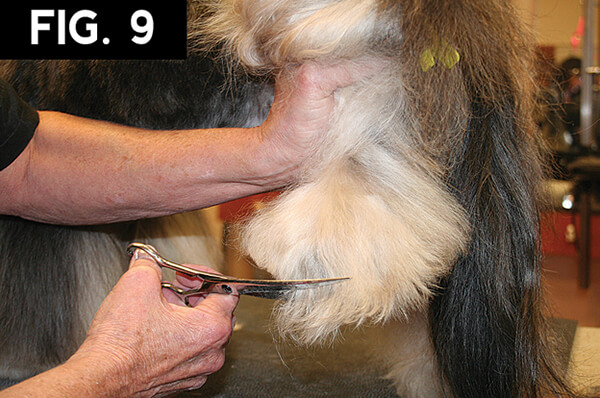
Fig. 9 Lift the rear foot and while holding much of the long coat out of the way, trim around the bottom of the foot.
Fig. 10 Use a clip to secure the longer coat out of the way. Place the dog’s foot close to the back edge of the table and use long curved shears to create a semi-circular bevel. Repeat this process dropping a little bit of coat at a time.
Fig. 11 Blend the longer coat from the front of the back leg into the semi-circular bevel.
With the dog’s foot placed close to the edge of the table you can scissor upward creating the semi-circular shape or “kick-up” on the back of the lower leg.
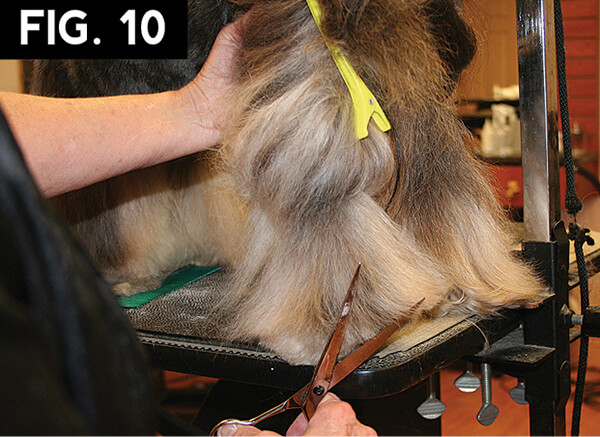
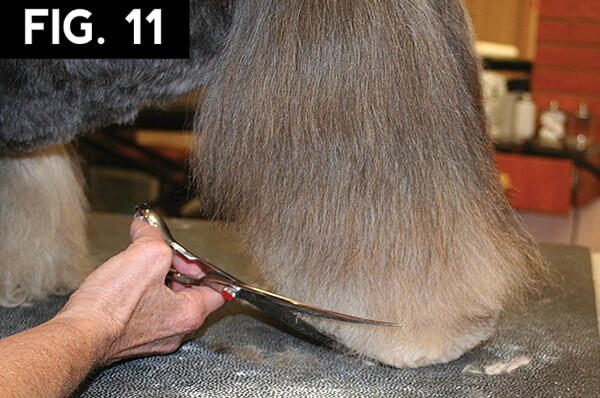
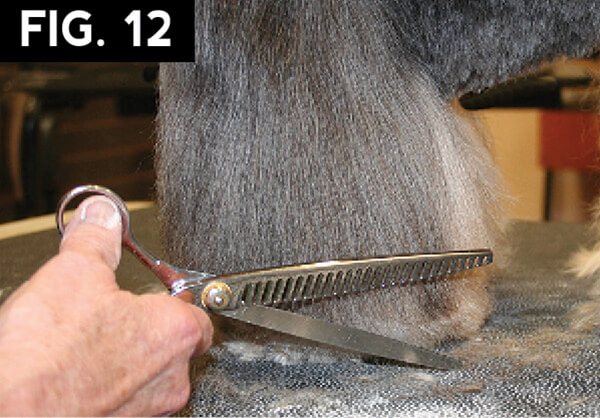
Fig. 12 Finish all bevels with super blenders for a soft look.
Part the top knot from the outside corner of the eyes to the front of the ears and secure with an elastic band. For very long or thick topknots (TK), divide the TK across the top-skull, from ear to ear. Place an elastic band on the first section and apply a bow. Next secure the back part of the TK to the front part of the TK with an elastic band placed above the bow. This will give the TK height and keep the long coat from falling into the dog’s eyes. The long TK will hide the second elastic band. This model’s TK does not have the thickness or length for this method. Finally, trim the ends of the TK to a desired shape.
Fig. 13 At this point, you can simply tidy the beard for a long look. For a soft “donut” mustache, trim the bottom and front of the beard with curved shears.
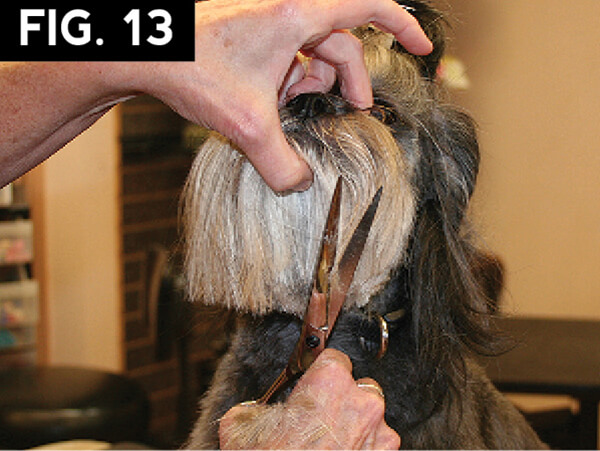
Fan the beard and mustache outward and then trim in a rounded fashion using curved shears. Application of spray, such as Thick and Thicker, will improve the final results.
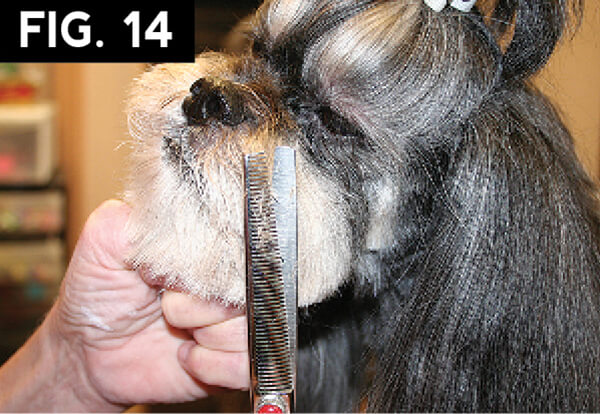
Fig. 14 Use cornstarch to texturize the soft muzzle coat and then use thinning shears to shape and soften a full round mustache.

Practicing new and innovative styles will help to keep your energy high and your salon fresh. The Asian Fusion cuteness factor is making an impression on our Bread & Butter clients and keeps them coming back for more.