By Dawn Omboy
With Valentine’s Day just around the corner, you might want to make a statement or send a special thought to someone in a unique way. I know just the thing to help you get your message across in a way that will make a lasting impression on those who see it. Yes, you guessed it—airbrushing right onto your pet’s coat.
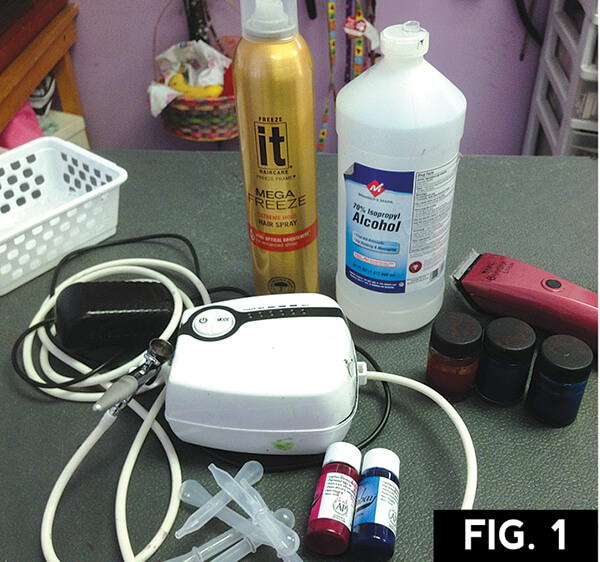
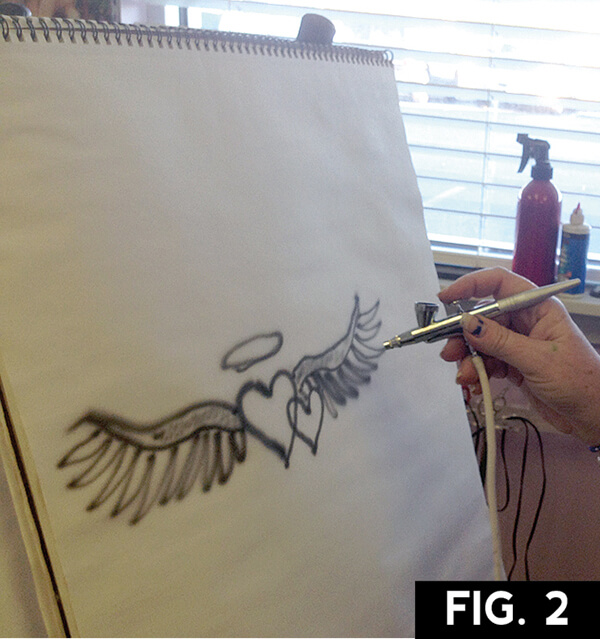
Here are some of the items you will need for this temporary project: (Fig. 1) a small air compressor with airbrush gun (like the ones used for nail art or cake decorating), some Dr. Ph. Martin’s India Ink, alcohol for diluting the ink and helping it dry quickly as it is sprayed on the dog, Q-tips, and small pipets for transferring the ink to the airbrush gun. A large sketch pad is also helpful, as you can use it to practice getting the feel of your airbrush and practice your design before putting it on the dog (Fig. 2).
I am going to show you how I put a design for my Mom on Brook, my Standard Poodle, with this demonstration. Brook has about two inches of coat, so it will have to be properly prepared to hold the design. The longer the coat, the more difficult it is to keep a detailed design because of the movement of the coat as the dog moves. You will want to begin with a clean, groomed coat.

To set the hair in place, I used a good firm hold or freeze hairspray and sprayed several light layers on the area of the dog where I am going to place my design (Fig. 3). This will set up a hard surface and prevent the coat from blowing as I airbrush the design. It will also keep it from being distorted as the dog moves.
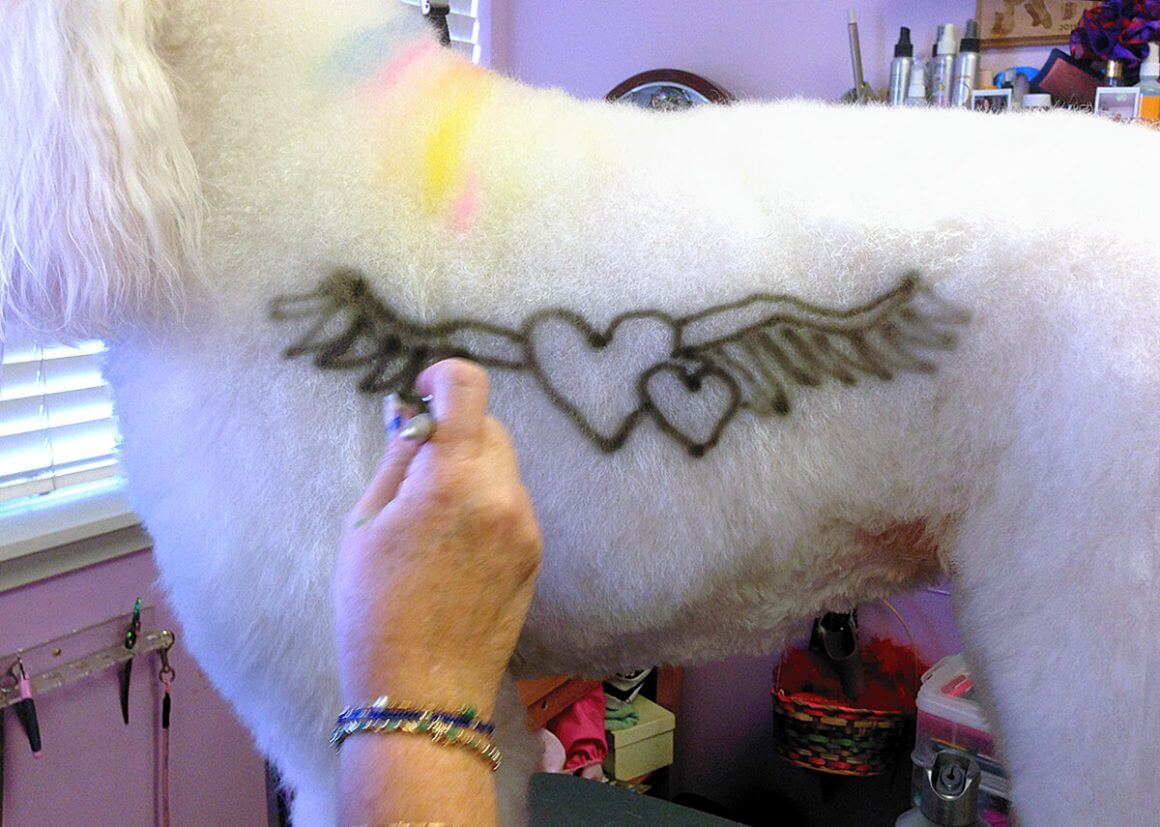
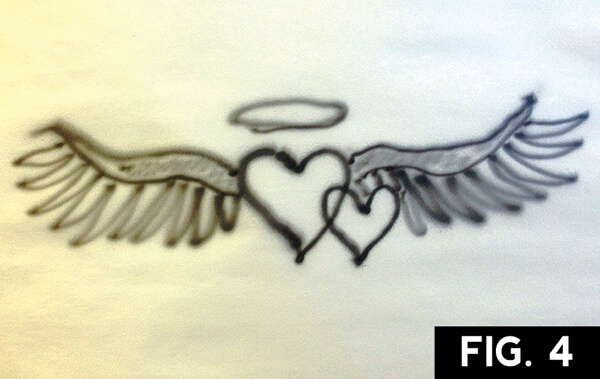
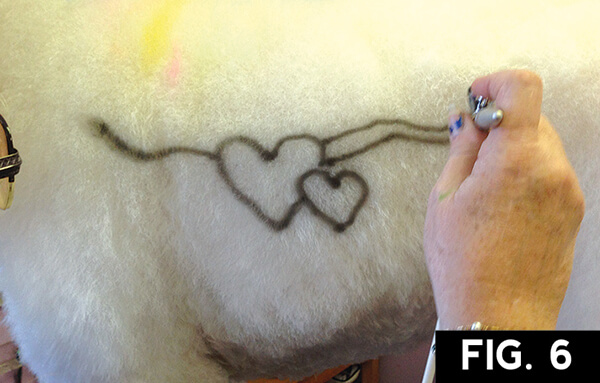
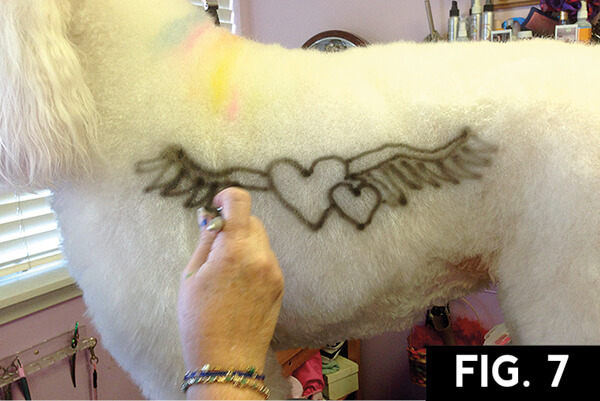
After a practice run on paper, I’m ready to transfer the design to the dog. I have my ink pre-mixed with rubbing alcohol, approximately one part ink to three parts alcohol. The alcohol will help the ink dry as soon as it hits the coat. Using the pipets to fill the cup on the top of my airbrush gun (Fig. 4), I will begin my temporary design. I started with the center heart, leaving an opening for the interlocking heart to overlap (Fig. 5). I then airbrushed in the outline of the wings (Fig. 6). With this part done, the next step is adding the feathers to the wings (Fig. 7) and then adding some shading before cleaning the airbrush gun and continuing with a new color.


To clean the gun, I empty the excess out, put straight alcohol into it, and spray it through. I use cotton swabs to make sure I have gotten it all off the needle inside. Always test your airbrush away from the dog when you are changing colors to avoid an “oops” in case all the previous color is not out (Fig. 8). Now go back and fill in the hearts with red. Once that was finished, I switched back to black ink and added a few more details. The airbrush allows finer details than you can get with most blowpens.
I have enjoyed sharing this design with you. It was easy and took only about 15 minutes to complete. It will last a few days, and Brook will then need to have it washed out, as it will look a bit distorted and smudged in her long coat. On a short coat, it will hold up much longer.

For tips and creative supplies, please visit me at www.queenofcolor.com.
Making the world more colorful, one dog at a time… “
Queen of Color