
By Kathy Rose
Retro Poodle patterns seem to be making a come back. Although Poodle styles change and evolve, the breed profile remains consistent. When creating a pattern such as the Dutch or the Town and Country, that is important to remember.

The top line is level and the angulation is exactly the same as if you were creating a lamb trim. With a very full-coated dog, I recommend just that, create a lamb trim and then apply your pattern. The blade length used for both the pattern and the body is dependent upon your client’s wishes.
For this trim, a #10 was used for the pattern lines and an “E” snap on comb was used for the body. Legs are skimmed and then scissored.
Fig.1) Clip, following coat growth direction from the outside corner of the eye to the ear. Shave the coat in front of the ear (ventilation strip). Clip the cheeks and bridge of nose up to the eyes. Form a slight inverted “V” between the eyes. Continue down the sides of the face, forming a “U” shaped necklace on the throat. A good rule of thumb is to clip down the throat the approximate length of the muzzle. This can vary somewhat depending upon the dog’s structure.
Fig.2) Stretch the lips back and then clip the entire muzzle. You can place your thumb over the lip bumps to avoid shaving them.
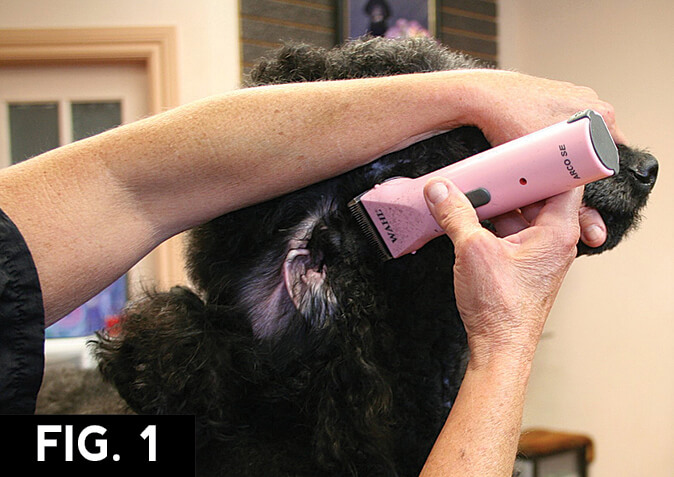
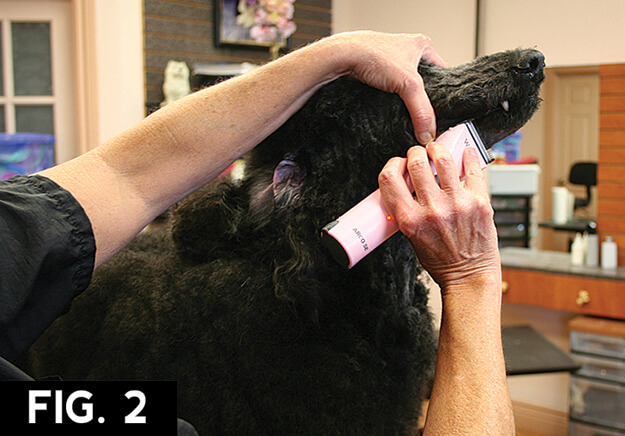
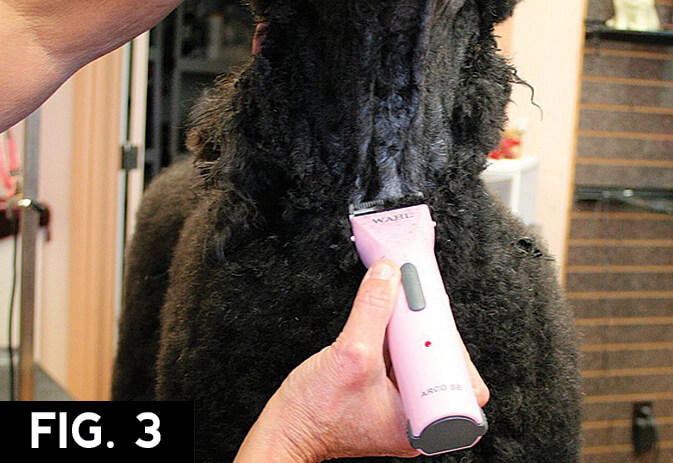
Fig.3) Clean up the clipper lines on the throat and face by clipping against coat growth direction. It is important to note that the dog’s skin tolerance to clipping against coat growth must be taken into consideration.
Fig.4) Place your hand around the cuff and then, using a #40 blade, clip the protruding coat. Use care to not dig into the skin with the blade.
Fig.5) Clip the tail band into an inverted “V” shape. Where you clip will be dependent upon the tail set. For a correct tail set, clip a band about two – three inches at the base of the tail, with the inverted “V” at the croup. A low tail set will require moving this line up toward the back.
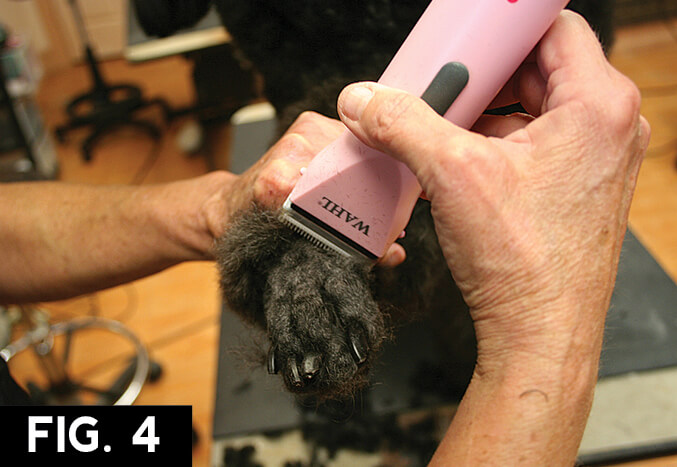
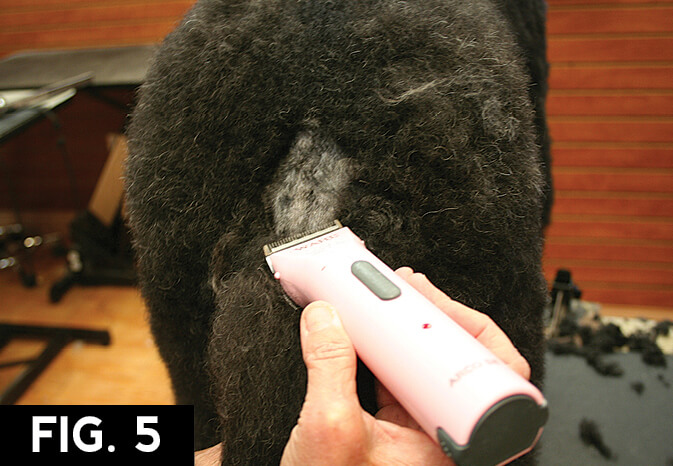
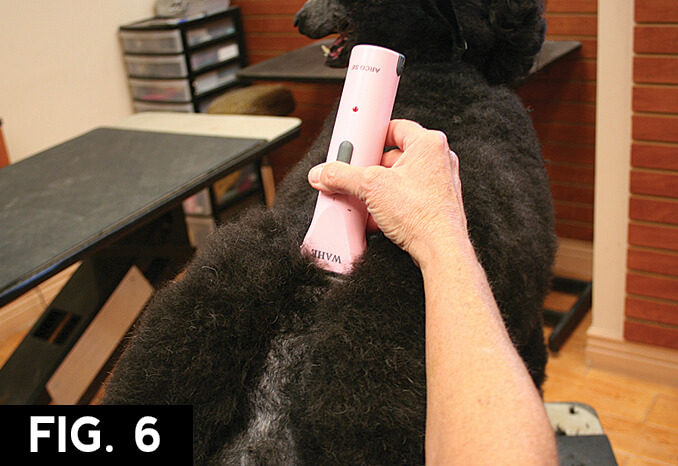
Fig.6) Secure the dog at the front and then, standing to the rear of the dog and following coat growth direction, create a strip of shaved coat from the withers to the tail band. You must be sure the dog is standing completely straight. For a Standard Poodle, the width of a #10 is appropriate. For Smaller dogs, use a narrower toe blade. Move to the front of the dog. Clip again over this line from the withers to the Tail band. This will help you to set a straight line. If the dog can tolerate a close trim, you may go in reverse coat growth direction.
Fig.7) Clip the collar area from well in front of the withers, around to the necklace already set. Place this line where the collar usually rests. Make sure to avoid clipping too low. You need to leave extra room to clean up your lines.
Fig.8) Create the vertical line at the last rib. Placement of this line will depend upon the overall structural body length. Very long dogs will require moving this line forward, and shorter backed dogs will require moving it back.
Fig.9) Once you have made your vertical line behind the last rib, create an angled line by clipping the corners of the pattern.

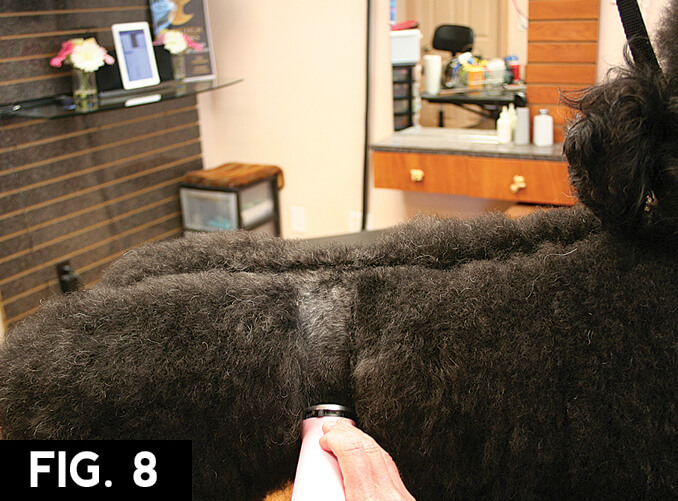
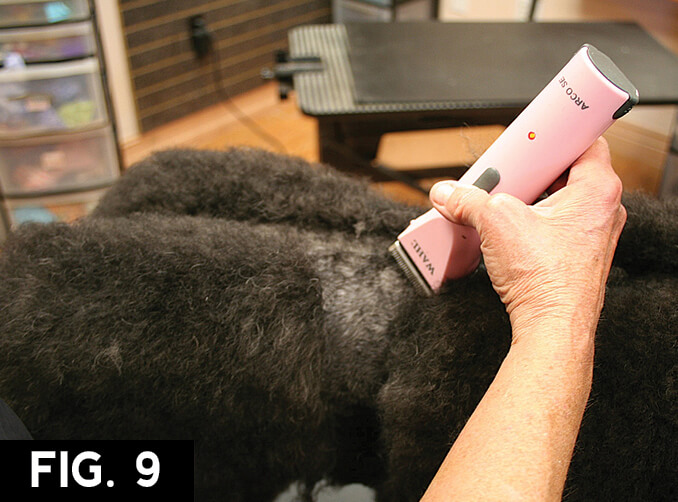
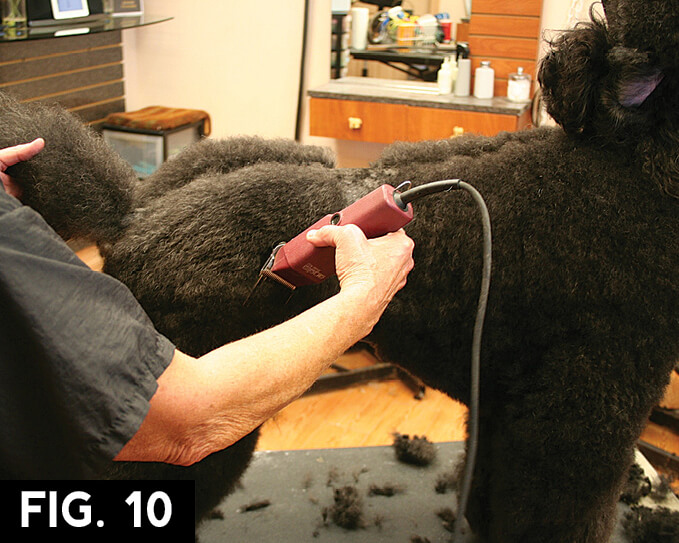
Fig.10) Use a snap on comb to clip the body. Begin at the pattern line at the back of the neck and continue all the way back over the croup and down the back of the upper thigh. Stop before you get to the hock. Skim off of the hip before reaching the leg coat. On the jacket, follow the shoulder, falling off below the point of shoulder but before clipping into the leg coat.
Fig.11) Create a “bevel” on all pattern lines by combing the longer coat over the clipped line and then scissoring the edge.
Fig.12) Use curved shears, inverted to follow the natural underline, creating a tuck up.
Fig.13) Scissor the top line to appear level, sloping onto a slight rise at the withers.
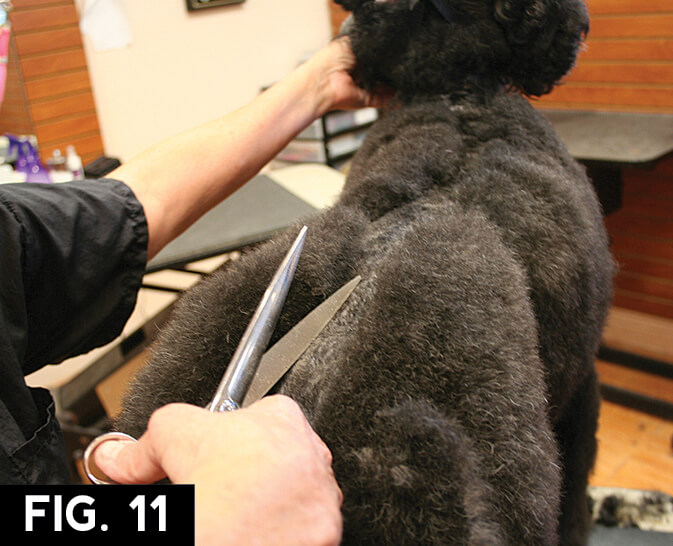
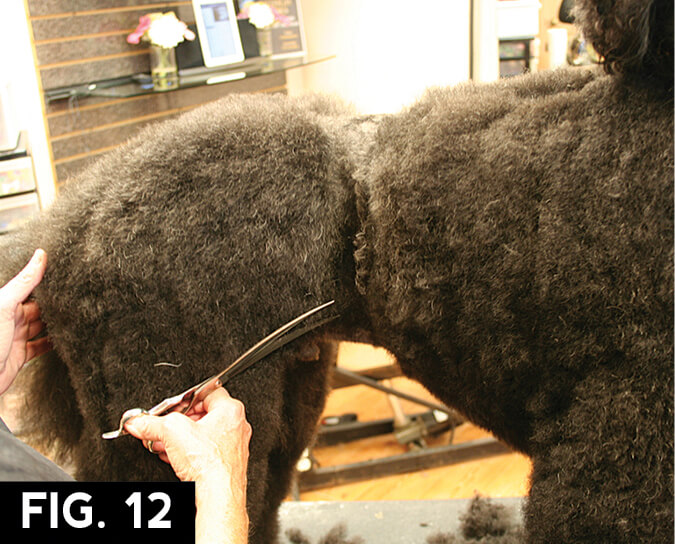
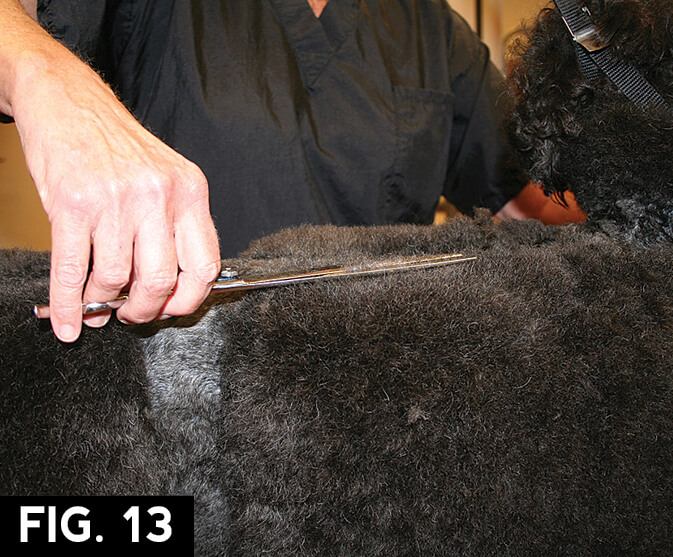

Fig.14) Use curved shears to round the point of rump and scissor the upper outside thigh. Invert the curved shears to scoop the back of the upper thigh down to the hock, accentuating rear angulation. Use straight shears to scissor the outside and inside of the rear legs to create parallel lines.
Fig.15) Lift the rear leg and then scissor the front of the rear leg to the bend in stifle. Then turn the shears and scissor upward toward the tuck-up.
Fig.16) Lift the rear leg and then scissor the cuff. Use curved shears to shape the lower leg and hock.
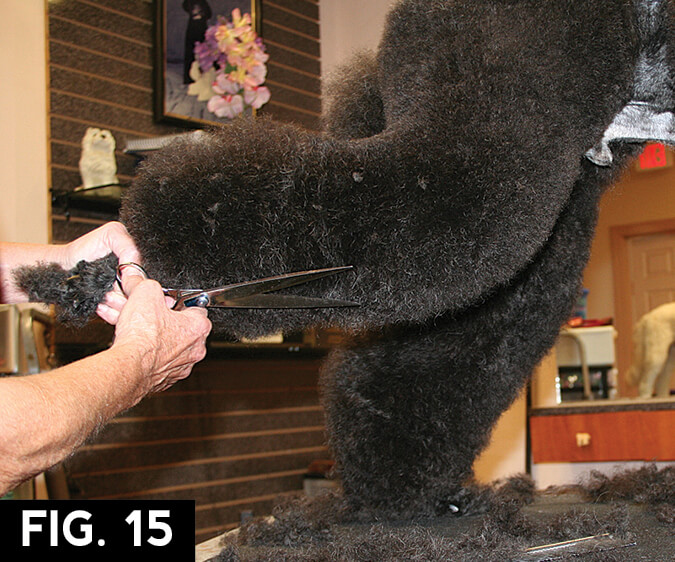
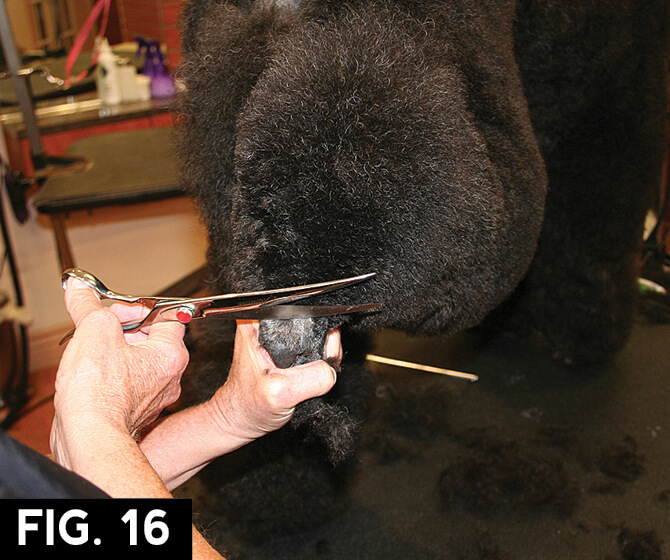
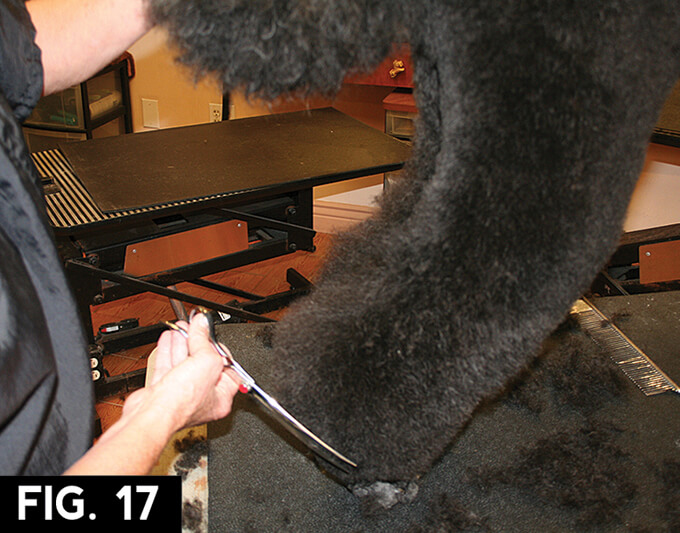
Fig.17) Place the leg back on the table and scissor the cuff into the shape of an up-side-down pyramid.
Fig.18) Use curved shears to shape the jacket and chest, placing the front legs well under the dog.
Fig.19) Use curved shears to follow the natural underline, following through to the chest.
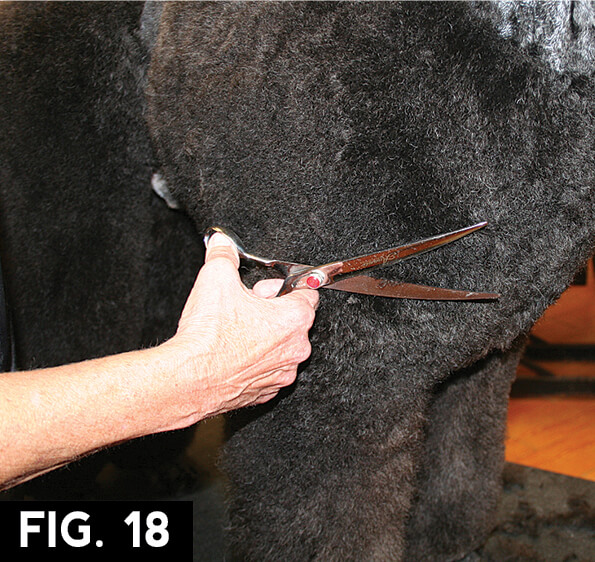
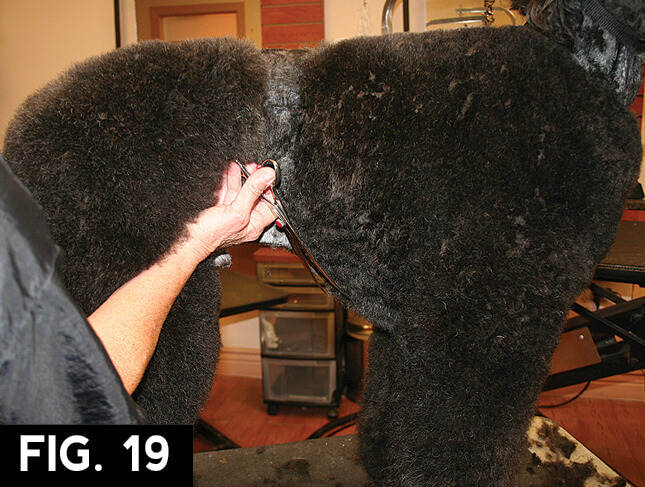
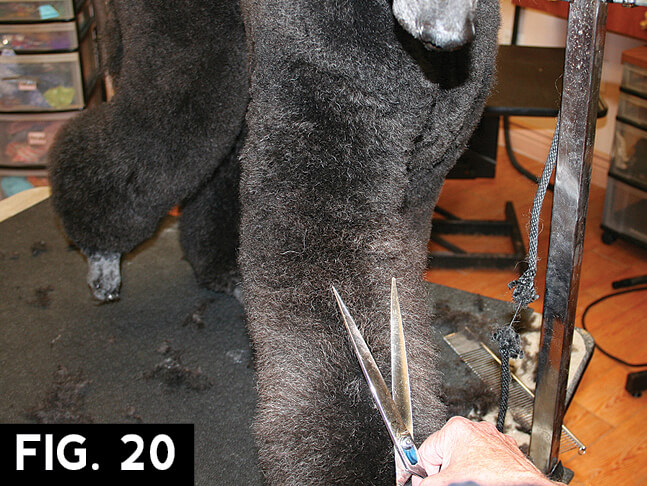
Fig.20) Lift the leg slightly and then use straight shears to scissor up to the point where the leg meets the shoulder. First scissor the front of the leg, and then trim the inside and the outside, forming parallel cylinders. To avoid pinching the inside of the front legs, near the chest, make sure to lift the leg only slightly while scissoring. Next, move to the side of the dog and lift the front leg straight back. Scissor the back portion of the leg. Complete the leg by placing the foot back on the table and scissoring downward from shoulder to foot. Finish, by tidying up the cuff.
Fig.21) Comb the tail straight down toward the tip and then trim the end. The amount trimmed from the tail is dependent upon the bone length. A short tail will have more coat beyond the bone than a long tail. Next, lift the tail and while holding from the tip, comb the coat down and trim the edge in the same manner you would trim a cuff. Finish the tail by scissoring into a round shape while holding the tail by the tip.
Fig.22) Use straight shears, placed at a 45° angle, and then trim the coat in front of the eyes. Holding the shears at an angle will help you to create an over hang. Continue scissoring a line from the outside eye corner across the top of ear, still holding the shears at 45°. This method creates a rectangular box that you will then round into the top knot shape.
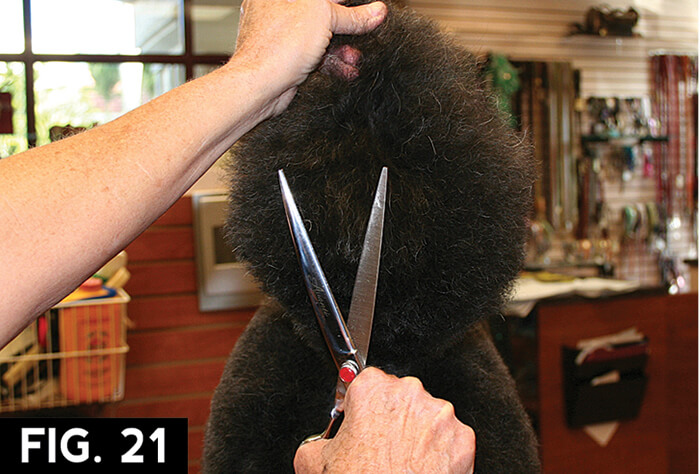
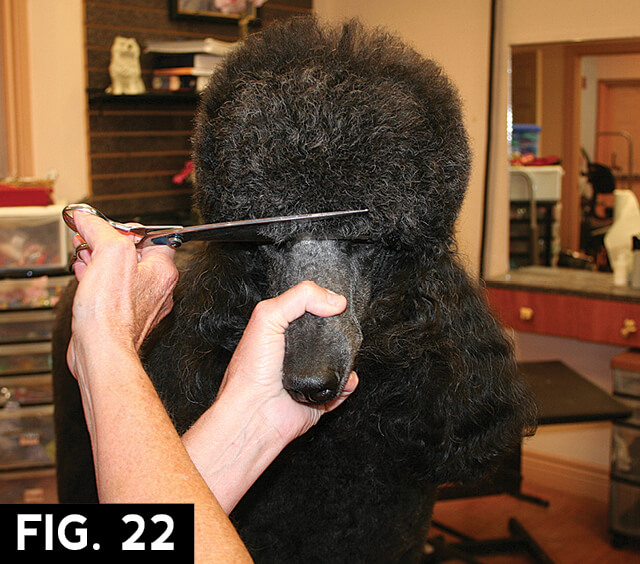

Fig.23) Using curved shears, scissor the sides of the head, rounding onto the domed top skull. Next, scissor the front of the topknot onto the domed top skull.
Fig.24) Use curved shears to blend the back of the top-knot, onto the back of the neck.
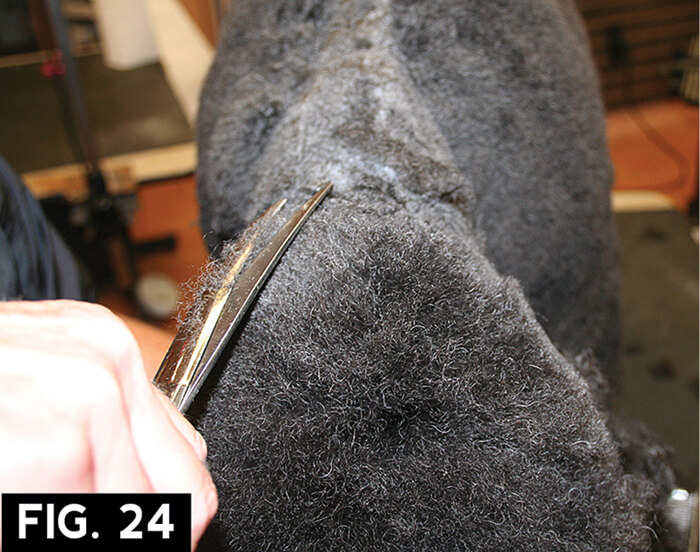
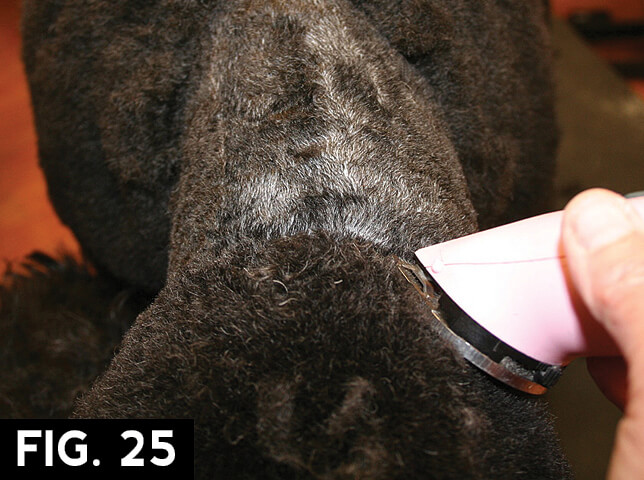
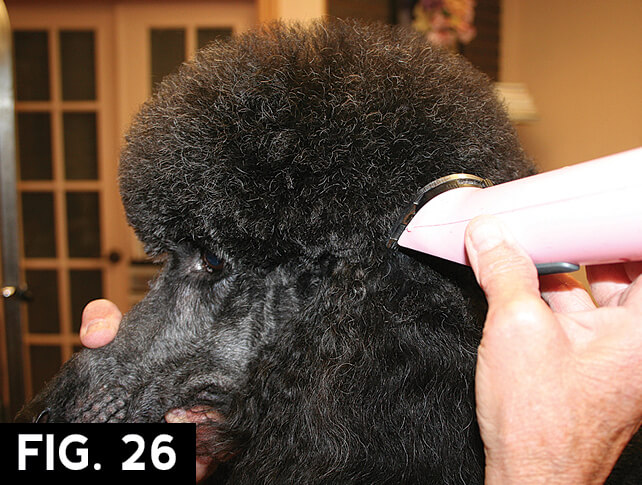
Fig.25) With a #10 blade, clean up the lines at the back of the top-knot, as well as cleaning up all other pattern lines.
Fig.26) Use a #40 with the clipper held up side down to create a tidy line from the topknot to the ear. Complete the finish by tidying the ends of the ear.

Poodle coifs seem to change almost as rapidly as clothes styles. With apparel, if you keep them in your closet long enough, they will return to style. With Poodle patterns, it is the same premise but you need only keep a vision of the patterns available to show your clients and the idea in your mind’s eye.